Creating Route
Содержание
Manually Route Creation
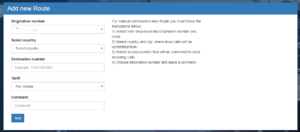
To simplify the call, in order to exclude the need to make a pre-set destination number, the system assumes the possibility of creating Routes in advance. To do this, under the Tools tab on the Routes tab, use the form to create a new Route (Figure 1).
IMPORTANT: Immediately after the creation of the new Route from your personal account, the amount necessary to pay the installation will be debited.
To add a new Route, you must do the following:
- Select from the drop-down list the outgoing number (Caller ID)
- Select the country and the city from which local calls will be made
- Select the Access number to which local calls will be made
- Specify Destination number (the number of your friend)
- Select a pricing type and enter a comment
- After completing all of the above, click the Add button
Automatic Route Creation
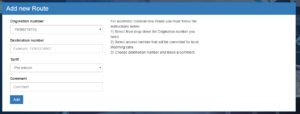
In order to use the automatic creation function of the Route, you need to go to the tabs Routes -> Automatic creation and fill in the necessary form fields (Figure 2):
- Select from the drop-down list the Origination number (Caller ID)
- Enter destination number
- Select a pricing type
- Enter comment
- Click the Add button
After that, the system will automatically offer you the Access number, which will be the local number for your Origination number.
Creating Callback Route
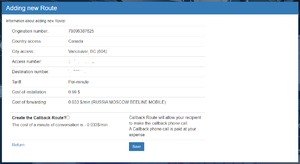
To automatically create a Callback Route, you need to check the *Connect Callback Route* item (Figure 3).
Please note that the connection of the return Route is free, but the tariffing is carried out within the framework of the current tariff.
P.S. The system will automatically inform you if you try to create a repeating Route.
Automatic creation of Routes based on Google contacts
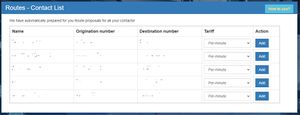
After completing the Google Contacts synchronization procedure, the system will prepare proposals for the automatic creation of Routes based on your Google contacts. To configure Route, go to the Service -> Routes - Contact list section (Figure 4).


